Wolf Mirror Engraving: Stunning Laser Engraving Project with Monport Onyx
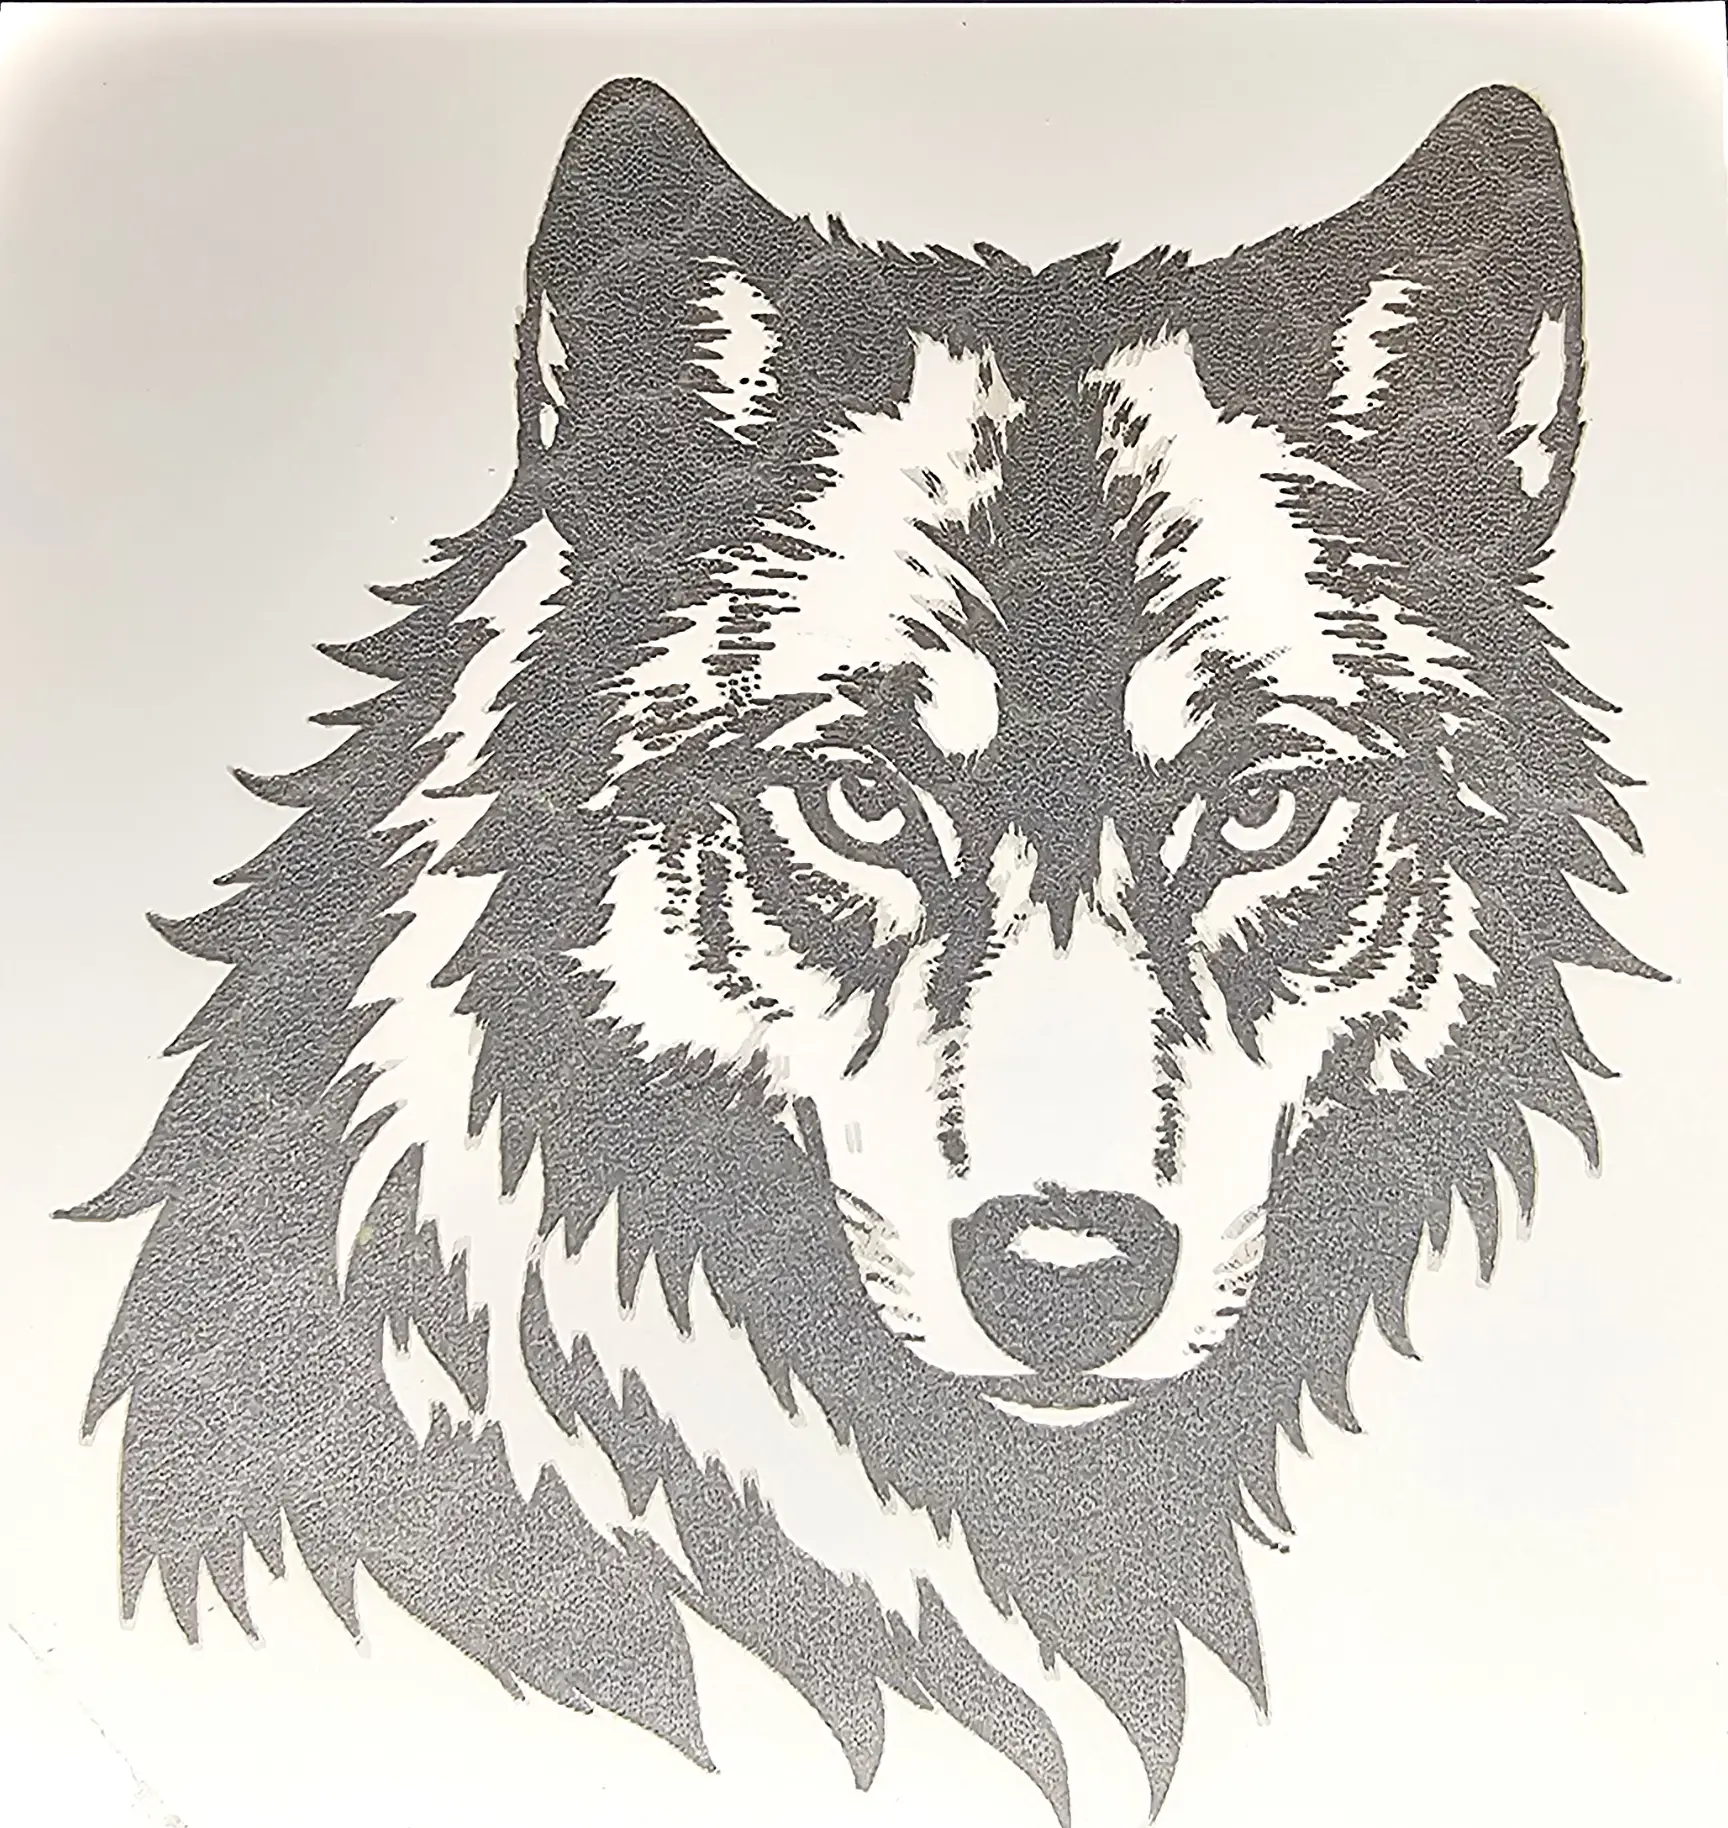
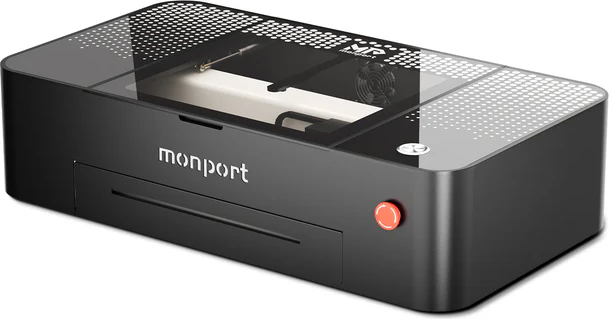
Explore the art of laser engraving with this breathtaking wolf design on a mirror! Using the Monport Onyx laser engraver, we demonstrate the entire process from start to finish, including engraving techniques, settings, and creative finishing touches. This project highlights the versatility of laser engraving and the impact of backing options to make your designs stand out. Perfect for laser engraving enthusiasts and creators looking to try something unique on mirrors!
Affiliate Disclosure: This page contains affiliate links. If you make a purchase through these links, we may earn a commission at no additional cost to you.
| Setting | Value |
| Laser | Monport Onyx 50W CO2 |
| Material | 1.5mm Mirror |
| Power | 50% |
| Speed | 300 mm/s |
| DPI | 300 |
| Line Interval | 0.0847 mm |
| Air Assist | 5 PSI |
| Frequency | 20 kHz |
| Passes | 1 |
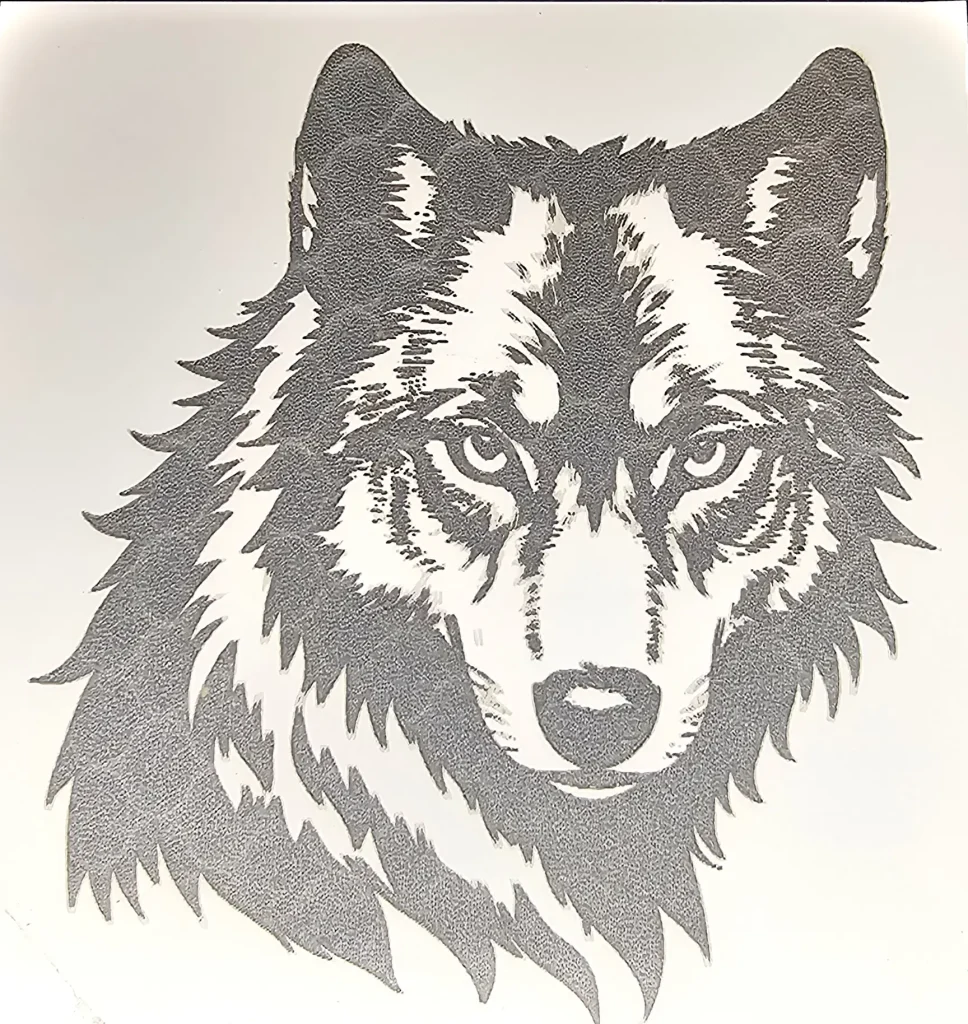
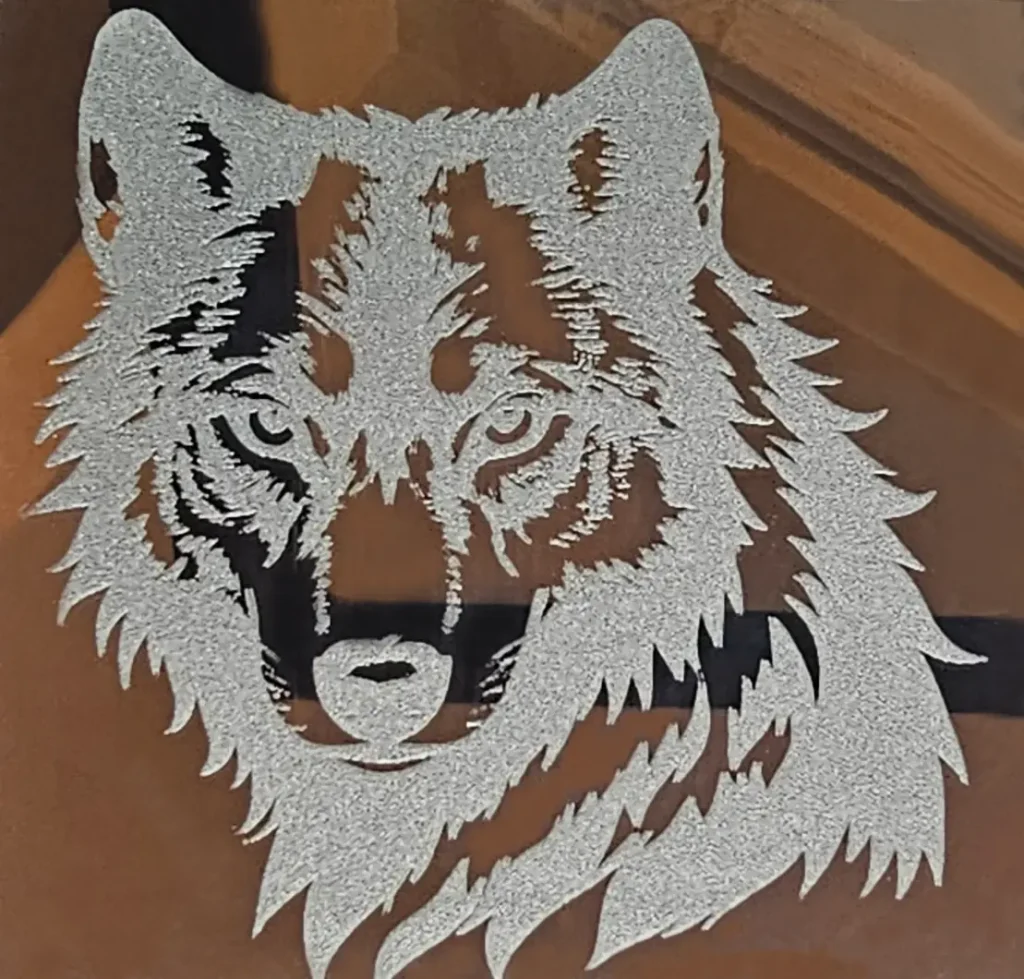
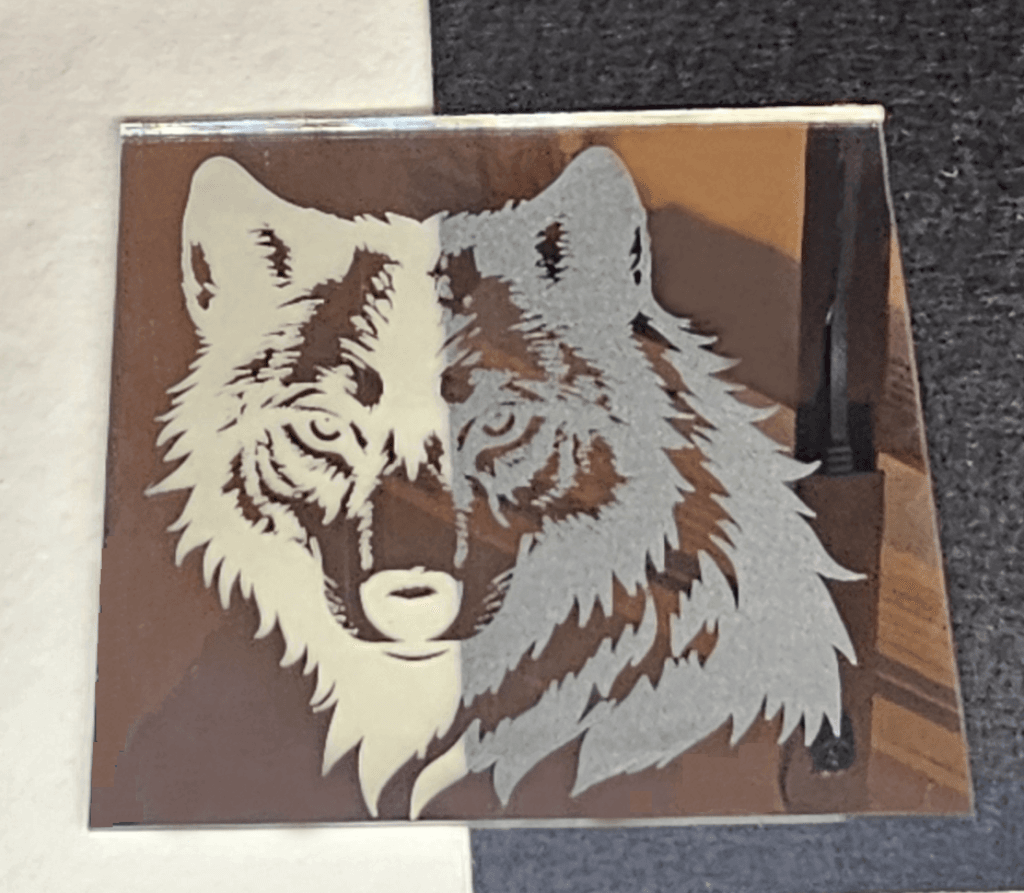
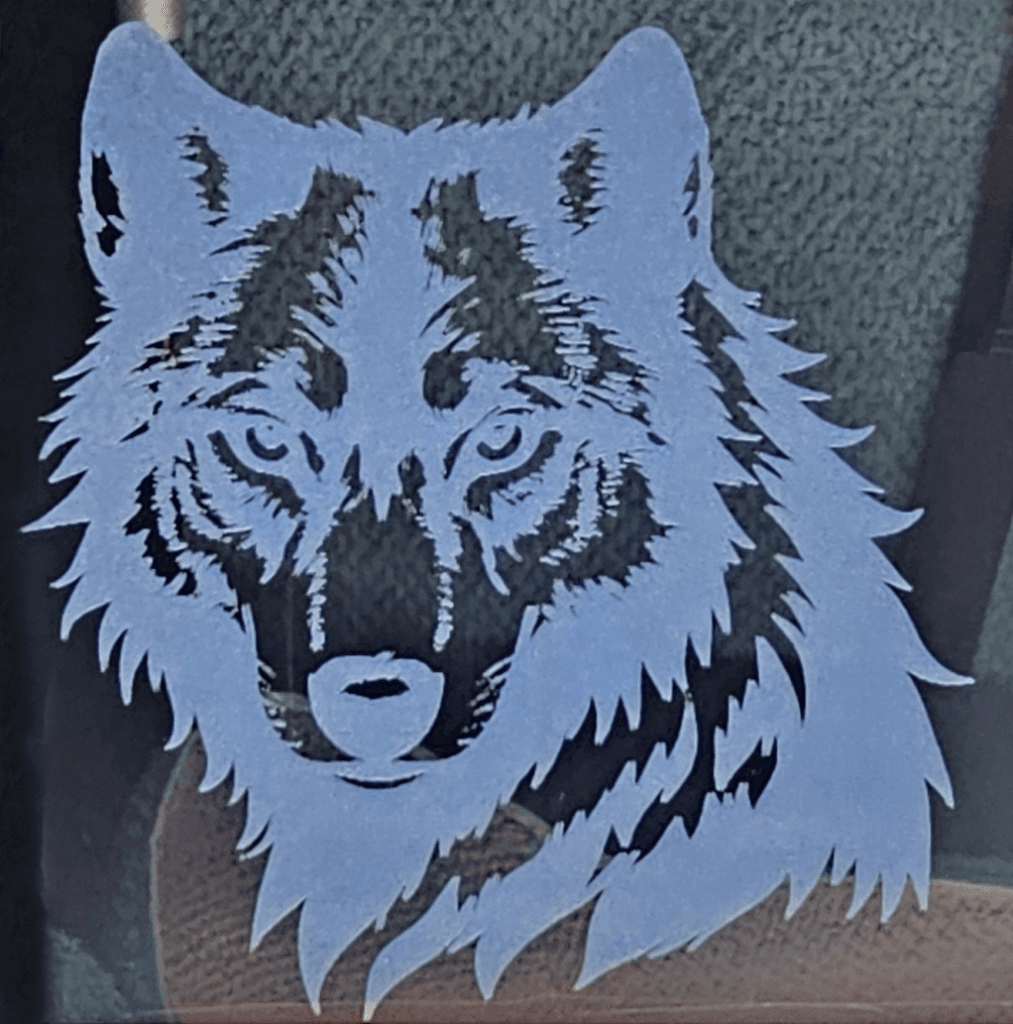
Final results on the back of mirror.
[content-egg-block template=offers_list]
Setting Up Your Image in LightBurn for Back Engraving
When engraving a design on the back of a mirror, flipping the image horizontally is a crucial step to ensure the final result appears correctly when viewed from the front. Follow this tutorial to set up your image in LightBurn for the perfect mirror engraving:
Step-by-Step Guide
Import Your Image
- Open LightBurn and create a new project.
- Import your design file by clicking File > Import, or drag and drop the image directly into the workspace.
- Position the image within your workspace according to the size of your mirror.
Resize and Position
- Use the Selection Tool (arrow icon) to select your image.
- Adjust the size of your image by dragging the corners while holding the Shift key to maintain proportions.
- Center the image in your workspace for even alignment on the mirror.
Flip the Image Horizontally
- Select your design and go to the Arrange Menu > Flip Horizontally or press the keyboard shortcut Ctrl+Shift+H (Windows) or Cmd+Shift+H (Mac).
- Confirm that the design is now reversed. This step ensures the image will appear correct when viewed from the front of the mirror after engraving.
Adjust Engraving Settings
- With the image still selected, go to the Cuts/Layers tab.
- Set the layer mode to Fill.
- Input your engraving settings (e.g., power, speed, DPI, and line interval). For this project:
- Power: 50%
- Speed: 300
- DPI: 300 (corresponds to a line interval of 0.085 mm).
Preview Your Design
- Click the Preview button (monitor icon) to simulate how the engraving will look.
- Confirm that the flipped image aligns correctly with your mirror’s dimensions.
Frame Your Design Steps
- Select the Frame tool in LightBurn from the toolbar.
- Position your material (mirror) securely on the laser bed.
- Click the Frame button to have the laser outline the area of the design without engraving.
- Observe the laser’s movement to ensure the design aligns perfectly with your mirror’s surface and edges.
- If adjustments are needed, reposition the design in LightBurn and repeat the framing process.
Send to Your Laser
- Once everything is set, connect your laser to LightBurn.
- Click Start or send the job to the laser machine for engraving.
By following these steps, you ensure the engraving appears flawless and properly oriented when viewed from the front of the mirror. Always remember to double-check the flipped image before starting the job to avoid errors!
Affiliate Disclosure: This page contains affiliate links. If you make a purchase through these links, we may earn a commission at no additional cost to you.
[content-egg-block template=offers_list]
Enhancing Your Mirror Engraving with Creative Backing Options
One of the most exciting aspects of mirror engraving is the ability to completely transform the look of your design by changing the backing. By simply adding a solid white or black backing, you can enhance contrast and make the engraving stand out. But why stop there? Painting the back allows you to introduce vibrant colors and intricate details, adding a whole new dimension to your project.
For an even more dramatic effect, consider incorporating backlighting. By placing LED lights behind the mirror, you can make your design glow, creating a stunning and dynamic display. These techniques not only elevate the beauty of your engraving but also make it a centerpiece in any setting. With endless customization possibilities, you can truly make your laser-engraved mirror a one-of-a-kind masterpiece!
Stay Connected for More Inspiration!
Looking for more laser cutting projects, tips, and inspiration? Explore the full “Material Minute” series for detailed material tests and project ideas by joining us on YouTube and Facebook! Discover exciting projects, detailed material tests, and expert tips to help you master your Monport Onyx and beyond. Whether you’re a beginner or a pro, we’ve got something for you!
Be inspired by our Projects and explore our Material Tests to see real-world results and find the perfect settings for your next masterpiece. Let’s create something amazing together—follow us now and be part of a passionate community of creators!
