Discover how to Master Clear Glass Laser Engraving!

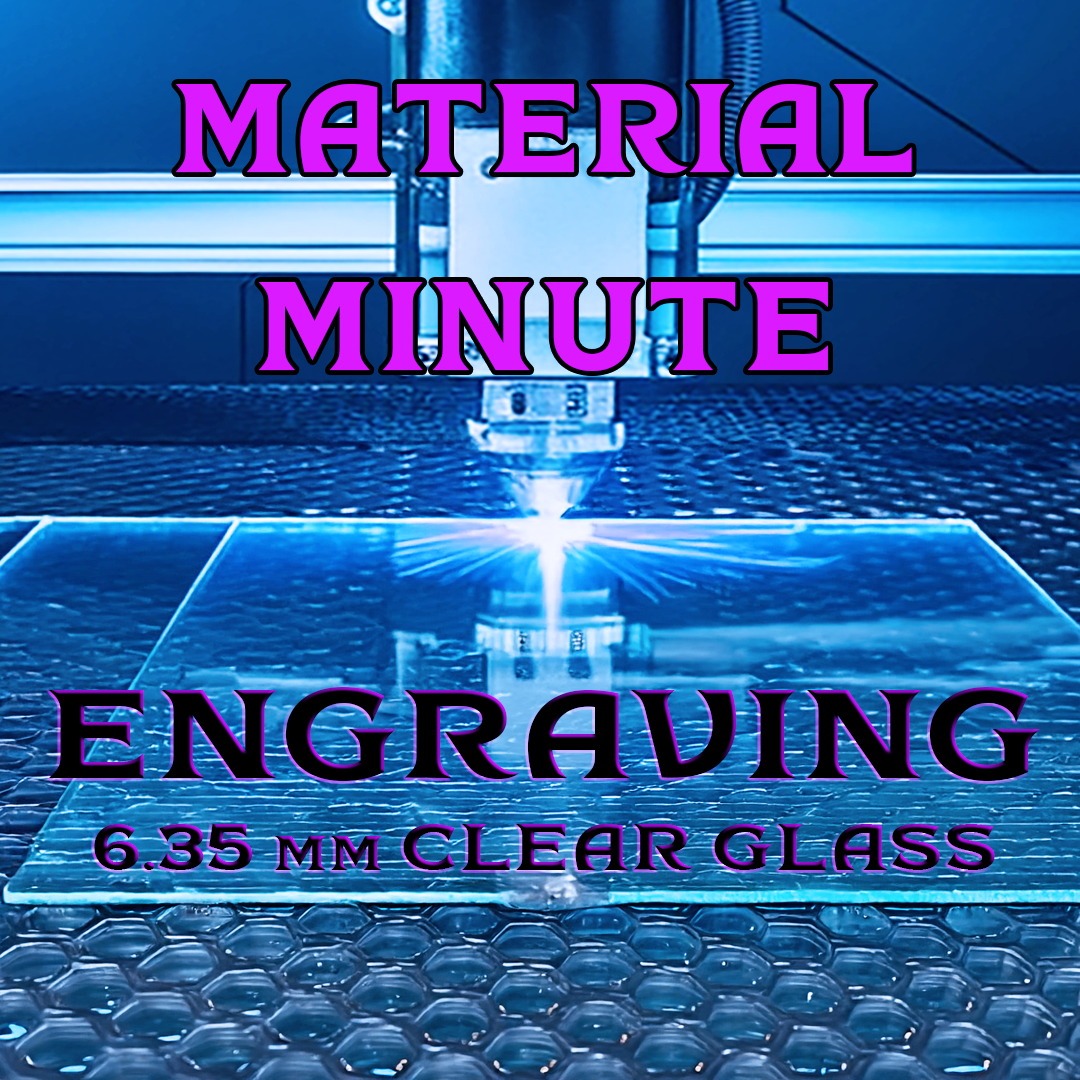
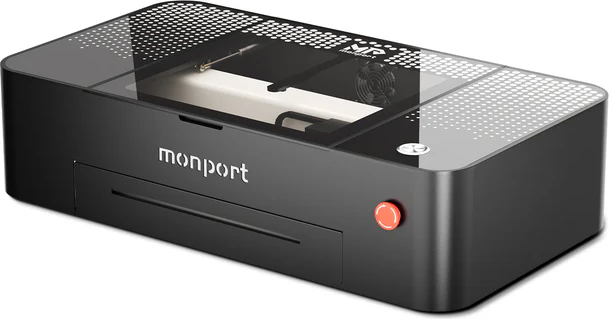
Welcome to another episode of “Material Minute”! In this post, we showcase how the Monport Onyx laser engraver performs an engraving test on 0.25-inch (6.35mm) clear glass. Using a range of power and speed settings, we evaluate how this machine achieves precise and detailed engravings. Whether you’re a laser enthusiast or a creator perfecting your craft, this guide will help you discover the optimal settings for your own clear glass engraving projects. Scroll down to see the test results and settings in action!
Affiliate Disclosure: This page contains affiliate links. If you make a purchase through these links, we may earn a commission at no additional cost to you.
| Setting | Value |
| Material | Clear Glass |
| Power | 20% to 100% |
| Speed | 100 mm/s to 500 mm/s |
| DPI | 254 |
| Line Interval | 0.1 mm |
| Air Assist | 5 PSI |
| Frequency | 20 kHz |
| Passes | 1 |
Final results of engrave test on Clear Glass.

[content-egg module=AmazonNoApi template=list]
Analysis & Observations for Clear Glass Engraving
Cleanest Engravings:
Overburn and Excess Etching:
Faint Engravings:
Frequency and Air Assist:
Line Interval and DPI:
Recommended Settings for 0.25-Inch (6.35mm) Clear Glass Engraving
- Power: 40%–60%
- Speed: 200–300 mm/s
- Line Interval: 0.1 mm
- DPI: 254
- Frequency: 20 kHz
- Air Assist: 5 PSI
Best Practice for Engraving Clear Glass
When engraving clear glass, the best practice is to engrave from the front of the material. This approach produces a frosted, textured effect that stands out clearly and is visually appealing. Engraving on the front allows the laser to etch the surface of the glass, creating a detailed and consistent design that is easily visible without requiring additional finishing steps.
Key Tips for Optimal Results:
- Surface Preparation: Clean the glass thoroughly before engraving to remove any dust, oils, or residues that could affect the laser’s performance.
- Optional Enhancements: For added contrast, place a dark background or light source behind the glass to make the frosted design more prominent.
- When Back Engraving Makes Sense: Back engraving is rarely necessary for clear glass but can be used if you plan to fill the design with paint or resin, or if you want a smoother, polished look on the front surface. If engraving from the back, be sure to flip your design horizontally in the software so it appears correctly when viewed from the front.
By engraving on the front, you’ll ensure the design is vibrant, detailed, and professional-looking. For most clear glass projects, this method offers the best clarity and visibility, making it the standard for achieving stunning results.
Affiliate Disclosure: This page contains affiliate links. If you make a purchase through these links, we may earn a commission at no additional cost to you.
Stay Connected and Get Inspired!
Looking for more expert laser cutting tips and creative project ideas? Join us on YouTube and Facebook to explore the full “Material Minute” series, where we dive into detailed material tests and share innovative projects to help you unlock the full potential of your Monport Onyx.
Whether you’re just starting out or a seasoned pro, you’ll find:
- Exciting Projects: Real-world ideas to spark your creativity.
- Material Tests: In-depth settings and results to achieve flawless engravings and cuts.
- Expert Tips: Techniques to help you master your laser engraver.
Be part of a passionate community of creators and discover endless inspiration. Let’s turn your ideas into reality—follow us now and take your laser cutting journey to the next level!


