30 Minute Maker: From Budget Tile to Premium Nameplate

Welcome to 30 Minute Maker, where creativity meets efficiency! In this project, we took a simple $1 ceramic tile from the local hardware store and turned it into a $40 custom nameplate using the power of precision laser engraving. With careful preparation, the right tools, and a touch of artistic collaboration, we created a stunning, high-value piece in just 30 minutes.
Whether you’re looking to explore laser engraving or searching for inspiration to elevate everyday materials into personalized treasures, this project showcases just how quickly and affordably you can create something truly extraordinary.
Materials and Tools Used
To achieve professional results, we used the following:
- Tile: 3″ x 12″ Ceramic Wall Tile
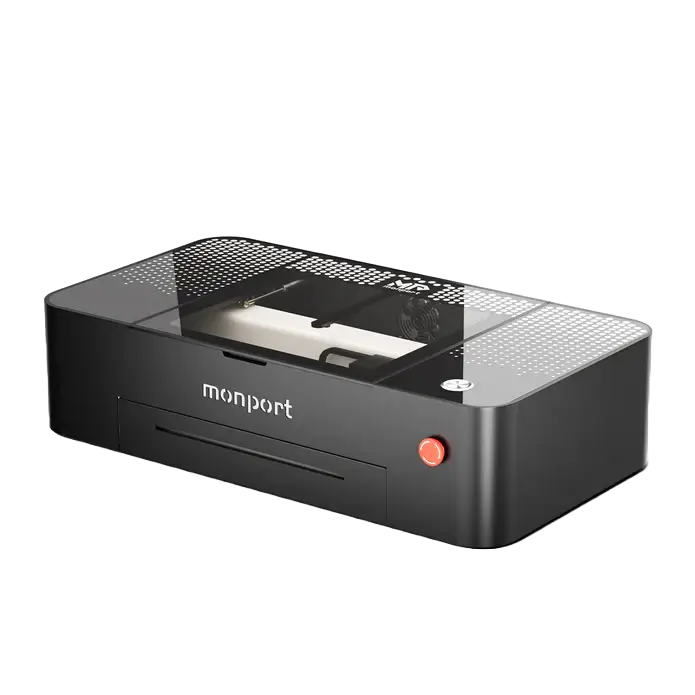
- Laser Engraver: Monport Onyx 50W CO2
- Design Software: LightBurn for design and engraving precision
- Masking Material: Blue painter’s tape to protect the surface
- Cleaning Agent: 99% isopropyl alcohol for pre- and post-engraving cleaning
Each tool and material played a vital role in delivering crisp, clean results.

Step 1: Preparing the Tile
Preparation is key to achieving a flawless engraving. Here’s what we did:
- Pre-Cleaning: Before applying any design, we cleaned the tile with 99% isopropyl alcohol. This step removed oils, dirt, and debris that could interfere with the laser’s precision or cause inconsistencies during engraving.
- Masking: After cleaning, we applied blue painter’s tape across the entire surface of the tile. Masking is essential for protecting areas that aren’t being engraved, reducing residue, and ensuring clean, sharp edges.
Pro Tip: Ensure the tape is applied smoothly without air bubbles, as uneven masking can affect the quality of the engraving.

Step 2: Designing the Nameplate
For this project, the client provided a custom symbol, which we paired with the Univers Condensed font for the name. The design’s clean lines and bold layout ensured the engraving would be visually striking against the glazed ceramic background.
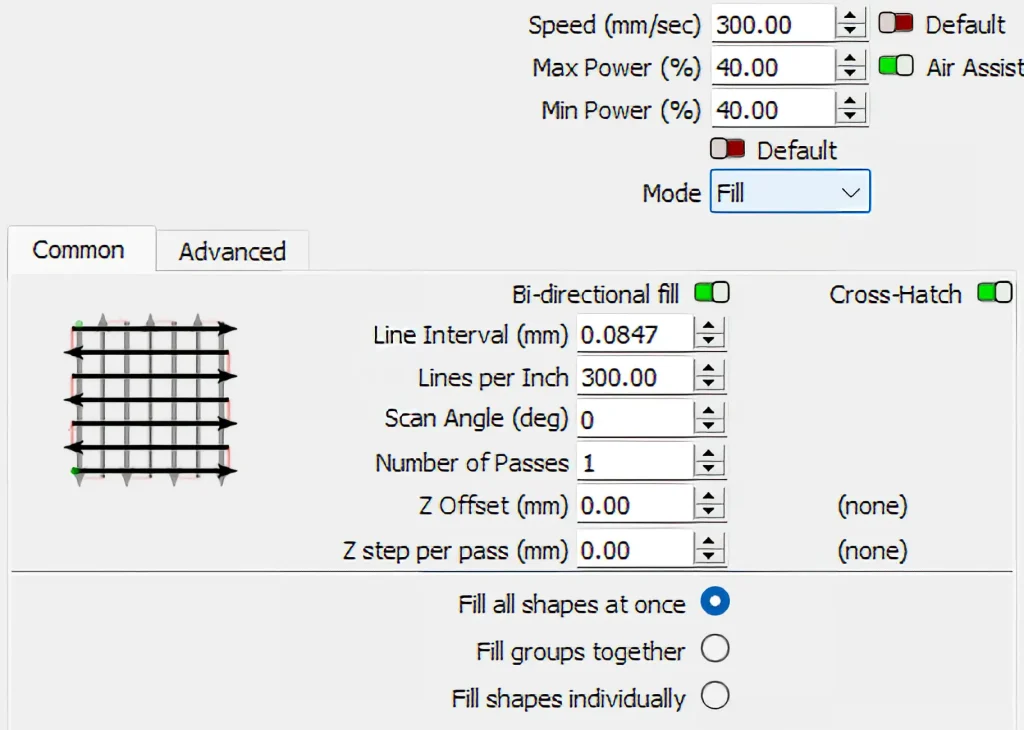
Using LightBurn, we set up the engraving design and fine-tuned the laser settings for ceramic tiles. These settings ensured optimal engraving depth and clarity without damaging the surface.
Laser Settings for Glazed Ceramic Tiles:
| Setting | Value |
| Laser | Monport Onyx 50W CO2 |
| Material | Ceramic Tile |
| Power | 40% |
| Speed | 300 mm/s |
| DPI | 300 |
| Line Interval | 0.0847 mm |
| Air Assist | 5 PSI |
| Frequency | 20 kHz |
| Passes | 1 |
These settings, combined with the Monport Onyx 50W CO2 laser, allowed us to achieve consistent results with excellent detail.

Step 3: Engraving the Tile
With the tile masked and the design ready, it was time to let the laser do its magic. We carefully positioned the tile on the engraver’s bed and began the process. The Cross-Hatch fill mode ensured even coverage and depth, resulting in crisp lines and a flawless finish.
Pro Tip: Monitor the engraving process to ensure the laser operates correctly. For tiles, it’s crucial to maintain consistent power to avoid uneven or over-etched designs.
Step 4: Cleaning and Polishing
After the engraving was complete, we carefully removed the painter’s tape and cleaned the tile again with 99% isopropyl alcohol. This post-engraving cleaning removed any tape residue, soot, or debris left from the laser process, leaving the tile polished and ready for use.

Why This Project Stands Out
This project demonstrates the incredible potential of laser engraving to transform inexpensive materials into high-value, personalized creations. Here’s why it’s worth replicating:
- Quick Results: The entire process, from preparation to finishing, took just 30 minutes, making it perfect for small businesses or personal projects.
- Affordable with High ROI: A $1 tile was transformed into a $40 product, showcasing the profitability of laser engraving.
- Customizable: The versatility of laser engraving allows for endless design possibilities, from names and symbols to logos and patterns.
Applications for Engraved Ceramic Tiles
- Nameplates: Personalize desks, doors, or walls.
- Home Décor: Create unique decorative pieces for any room.
- Gifts: Give a meaningful, custom-made gift for birthdays, weddings, or special occasions.
- Small Business Branding: Use engraved tiles for signage or promotional items.
Tips for Successful Ceramic Tile Engraving
- Choose the Right Tile: Smooth, glazed tiles work best for laser engraving. Uneven or textured surfaces can result in inconsistent designs.
- Test Your Settings: Always run a test on a scrap tile to confirm your laser settings are optimized for the material. Check out our Material Tests for detailed guidance on dialing in the perfect settings for your project.
- Clean Thoroughly: Pre- and post-cleaning with isopropyl alcohol is essential for ensuring a professional finish.
- Use Quality Tape: Masking the tile with painter’s tape reduces residue and improves the final outcome.
- Experiment with Designs: Don’t be afraid to try different fonts, symbols, or patterns to see what works best.
Final Thoughts: A 30-Minute Transformation
This project is a perfect example of how laser engraving can turn simple materials into personalized, high-value creations in just 30 minutes. Whether you’re crafting for yourself or building a business, the possibilities with laser engraving are endless.
Ready to take your creativity to the next level? Explore our Material Tests to see what other surfaces you can transform, and get inspired by our Other Projects for even more ideas.
Follow us on YouTube for step-by-step tutorials and behind-the-scenes looks at our latest creations, and join our community on Facebook to connect with fellow makers. Let’s make your vision a reality—one project at a time!


